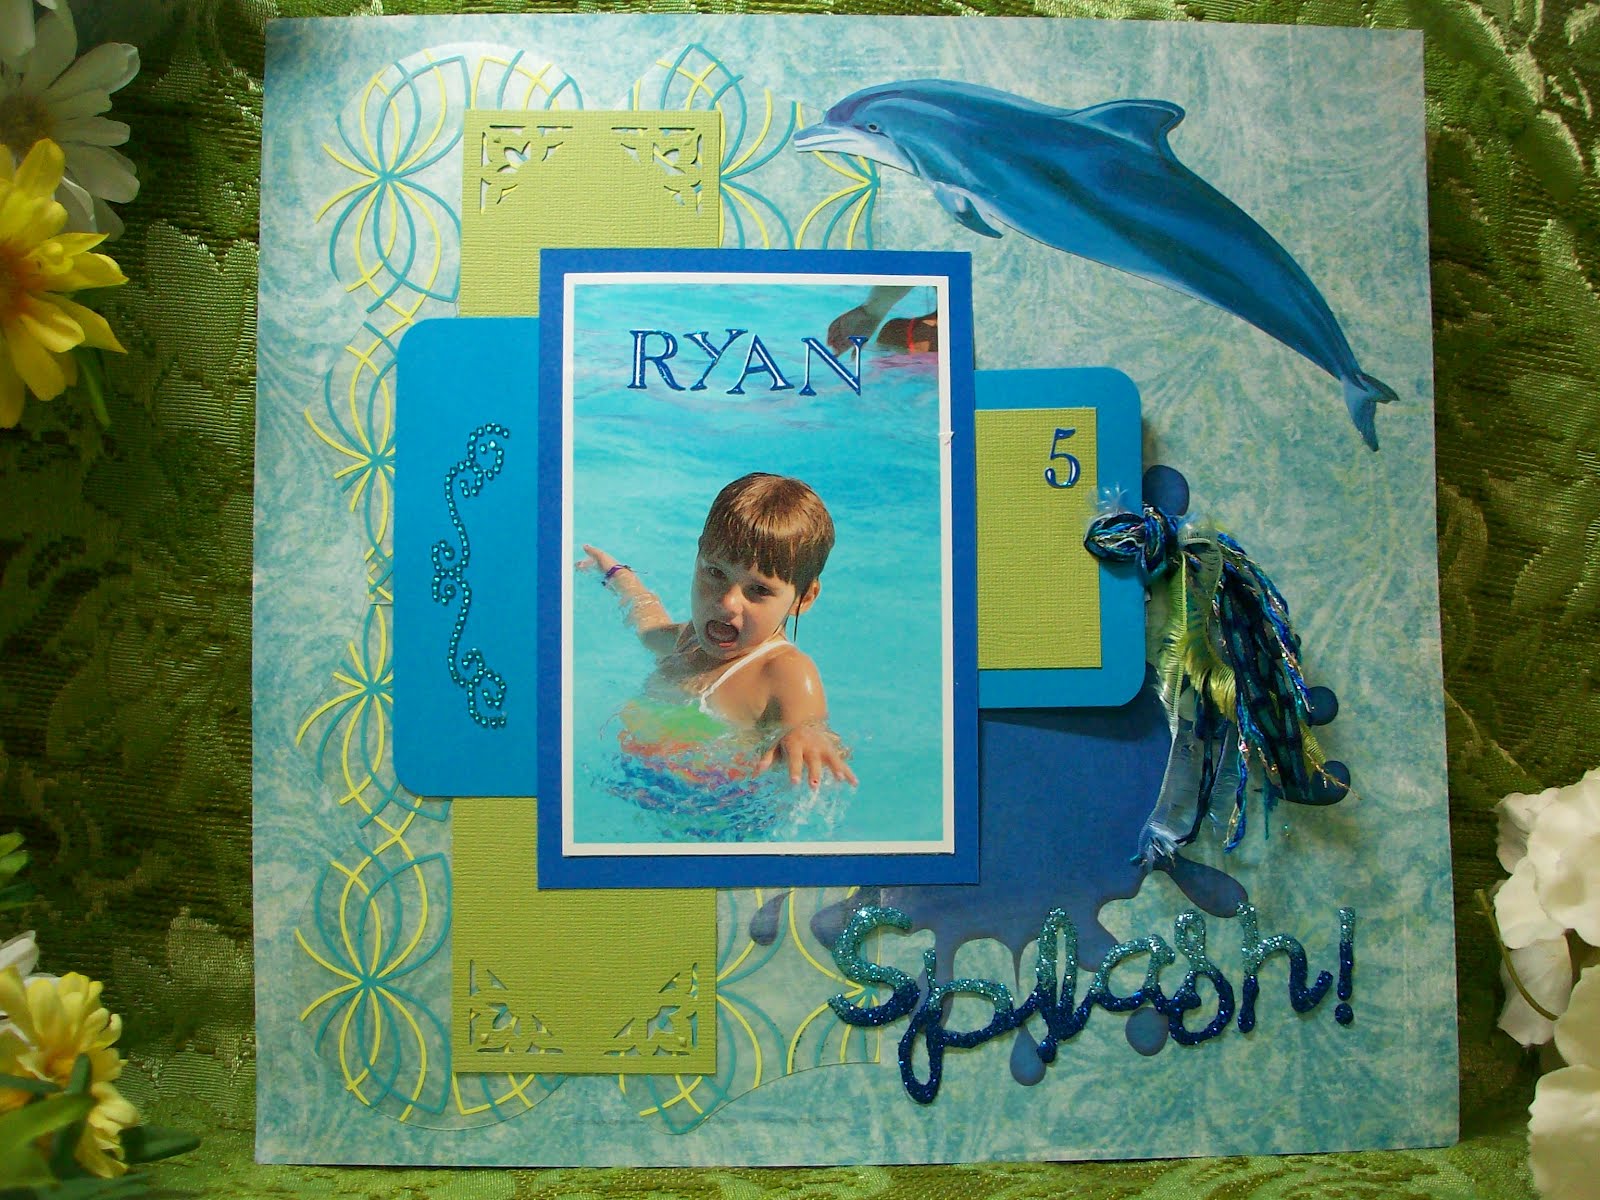
It's easy to personalize titles for your treasured scrapbook pages with duetica.com's Lettering Arts Studio. I was playing with the "outline" feature on their Studio. This layout of my grand daughter on our recent trip to Funtown/Splashtown in Saco, Maine captures her energy and the fun of our day.

DUETICA FONTS: DT Floot B10 (72pt-Bold)
Other Supplies:
KI Memories Sheer Delights Lotus 2 (half sheet)
Fancy Pants paper Stained Stripes (back side)
Cardstock: turquoise, dark blue and lime
Corner Punch-Purple Cows, Inc Autumn
Perfect Crafting Pouch and Perfect Cleaning Cloth by ScraPerfect
Wallies-dolphin
turquoise bling by Want 2 Scrap
blue glitter alpha stickers - Robin's Nest.
Fine art glitter (teal and dark blue), misc. fibers and corner rounding punch.
DIRECTIONS:

1. Cut the Sheer Delight and attach to the background paper, over lapping slightly as shown.
2. Prepare the area to be printed with the Perfect Crafting Pouch (This helps the ink dry faster, especially on the slick transparency surface)
3. Print a large blue "Splash" onto the background. Heat set or dab with the Perfect Crafting pouch if needed.

** on a side note: I wanted to mention that while you are designing in the Lettering Arts Studio, all the fonts on your PC will be available to use in your design!

4. Enter the Lettering Arts Studio and create your design.
5. Click "Create Image Copy", select "Outline" and save the file to your PC.
6. You can open the file and print or insert the file into another document, as I did to play around with placement.


7. Be sure to check your printer settings, especially for photo printers to turn off the "glossy".

8. Print the text directly onto background paper.

9. Swipe the Perfect Crafting Pouch over the printed word (this will reduce static when using glitter) and apply glue within the lines of the printed text.

10. Cover the glue with 2 colors of fine art glitter.

11. Dump off excess glitter and let dry. Remove any Perfect Crafting Pouch residue with the Perfect Cleaning Cloth.
12. Cut 10" x 2.5" lime card stock and punch the corners, adhere along the left as shown.
13. Cut two 3.5 x 5 pieces of turquoise card stock and round corners. One will go behind the photo on the right vertically, the other will be used as a tag behind the photo, add a small scrap of lime card stock to accent and lift the tag.
14. Mat the photo with dark blue card stock and adhere using adhesive on the top, bottom and left sides only, to create a pocket for the tag.
15. Finish the tag with fibers, add the alpha glitter stickers, bling accent on the left and the dolphin Wallie.
Thanks for stopping by the blog today! I hope your summer has been fabulous. Come back Friday, I'll be scrapping again with the duetica.com Lettering Arts Studio.
Becky