Showing posts with label buttons. Show all posts

Saturday, March 9, 2013

Designer Crafts: BUTTONS GALORE Challenge & Give Away

Welcome to the March Designer Crafts Connection Manufacturer Challenge and Give Away!  This month, it's all about the buttons, with Buttons Galore & More.   This month, we have many talented Designers sharing projects made with buttons and a fabulous prize package. The give away starts today and ends on March 17th.  Leave a comment to enter.  There will be a prize for one participating Designer and one Reader who comments.  Drawings are random, so leave comments on all the blogs for more chances to win!


buttons galore craft ideas blog hop viewtainer


I had this BLAHzey black crocheted back that needed some perking up, but I wanted it to be a little quirky and still classy, a perfect fit for those Buttons Galore & More! 


I had plans of adding stems with green rick rack, but after I completed one, it just ruined the "classy" so I removed it.  This is an easy way to add a pop of color and whimsy to something just a bit too boring.

SUPPLIES:  Fabric flowers, 3 lime green buttons by Buttons Galore & More, Black embroidery thread, 8 ply cotton, large hole needle, and your drab garment or bag.

Directions:
1. Use all 8 plies of the thread.
2. Remove the center of fabric flowers, use two layers of flowers behind each button.
3. Sew the button and flowers to the garment using a cris-cross only once, tie off on the inside of the bag.
4. Be mindful of placement and adjust as necessary when sewing.

Use the DCC hop button on my side bar to see many more fabulous button projects!
If you have the time, stop by and see the Buttons Galore & More NEW RELEASES
Follow them on FaceBook for projects and give aways!

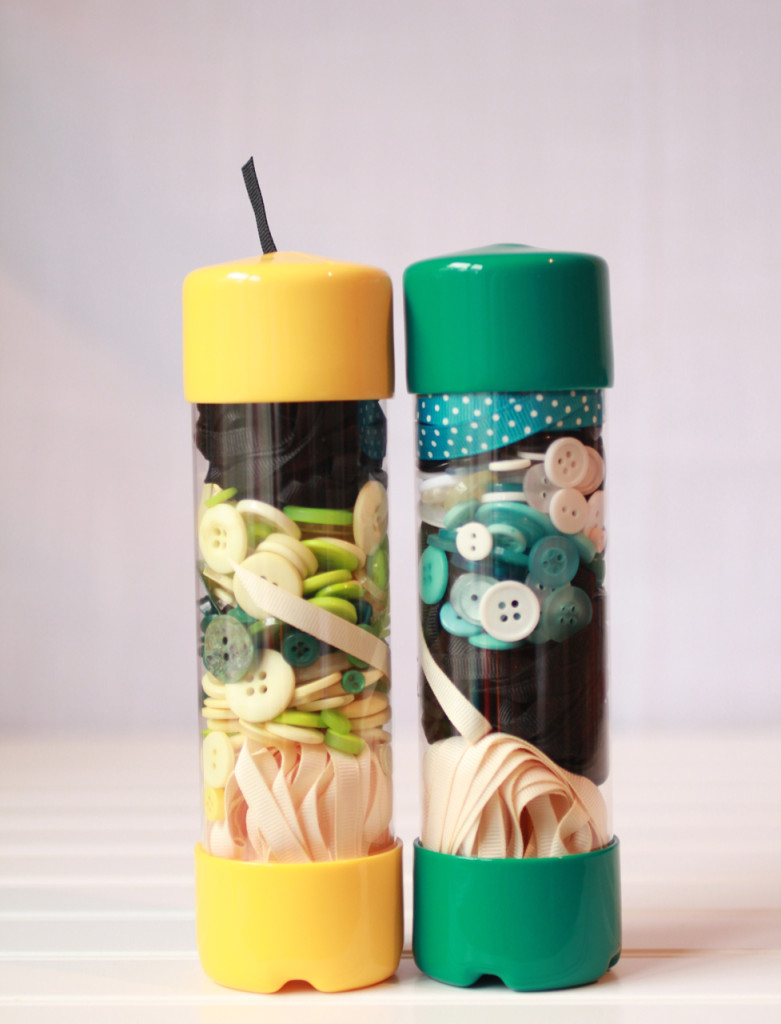
Viewtainer has donated the containers for the contest winners

VIEWTAINER containers have clear walls, come in fun bright colors with an easy dispensing cap and NO spilling! Proudly made in the USA!
Company Overview

General Information
For more information contact us at:
Email: contactus@viewtainer.com
Phone: 1/888-865-9935
Website: www.viewtainer.com
Blog: http://viewtainer.typepad.com/blog/

Facebook: http://www.facebook.com/Viewtainer
Twitter: @Viewtainer


Friday, November 9, 2012

DCC SMOOTHFOAM CHALLENGE!

Hello and welcome to the Designer Crafts Connection Manufacturer's Challenge hop!
We are a diverse group of Craft Industry Designers, sharing our creativity through hopping.
We hop on the FIRST MONDAY of each month but today is a SPECIAL HOP with a challenge from SmoothFoam
To visit the next blog, please use the DCC Hop Button at the end of this post or on my sidebar.

You can win a prize package from Smoothfoam!  To enter to win, leave a comment on the blog of the designer that has made your favorite project and say what they would make with Smoothfoam.  The more often yoiu comment the more chances you will have to win.  All the projects will be posted on Pinterest so readers can comment there too.  The winner will be announced on our Facebook Page on November 19th.


I made this old fashioned tree center piece using the SmoothFoam as the structure.


SMOOTHFOAM SUPPLIES:
3 Balls: 3", 4", and 6"
1x8" flat circle base

Other supplies:
3/8" wooden dowel
Fabric
3" wide lace
large gold buttons
large star punch
gold foil paper
wire
hot glue gun
Say it in Pearls embellishment (Prima)


Directions:
1. Cut 3" pieces of dowel to assemble as shown. This will create holes for you to locate easier later and pre-poke them to make assembly easier with the fabric on.


2. Cover the base in fabric using a hot glue gun to secure on the bottom.
3. Hot glue lace around the edge using accordion style.
4. Cover the largest ball (6") in fabric, securing with hot glue, but do not go completely over the base and do no cover the hole you made earlier.
5. Place the 3" of dowel previously cut into the base piece hole, put some hot glue on it and around it then slide on the 6" ball.
6. Cut a piece of lace and tie around the base of the ball where the two pieces meet.  Tie a knot and hot glue into place.  Embellish with a gold button. Trim the tails of the lace.
7. Repeat steps 4-6 for the next two balls.
8. Punch two stars from gold card stock and hot glue together with a piece of heavy wire glued in between them.
9. Embellish the star in the center with a "say it in pearls" embellishment.
10. Push the wire / star into the top of the tree.


Thanks so much for stopping by, please continue to hop around to see what the other Designers have created with Smoothfoam and enter to win a great prize.

Craft on!
Becky.JPG" imageanchor="1" style="margin-left: 1em; margin-right: 1em;">

Friday, March 9, 2012

Festive Friday Blog Hop #5

Welcome to the Festive Friday Blog Hop! We will post Christmas Cards (or other Holiday projects) every 2nd and 4th Friday of each month EXCEPT December. Use the link on my side bar or at the end of this post.


For me, the "Tree" is the most symbolic of Christmastime. I've had these buttons hanging around for um.............. 8+ years LOL and it was time to give them a purpose. Some of them are fairly small, but Embellie Gellie made my task easier.


This card is 5x7". I cut a piece of textured wallpaper 4.5 x 6.6 then layered it onto patterned card stock. I added some stitched zig zag detailing with gold thread. Next I punched out circles of the patterned paper, using the backside and put dots of The Best Glue Ever! where I wanted the buttons to be. When the glue is dry, use the Embellie Gellie to pick up the buttons and place them onto the glue areas. Viola! Quick and easy. I am a woman of few words :o) If I add a sentiment later it could be a miracle, mostly I write my greetings inside the cards.

Thanks for hopping! Be sure to visit all of the blogs, you may find some blog candy! Come back often, the next Festive Friday will be March 23.